FirePreamp Manual
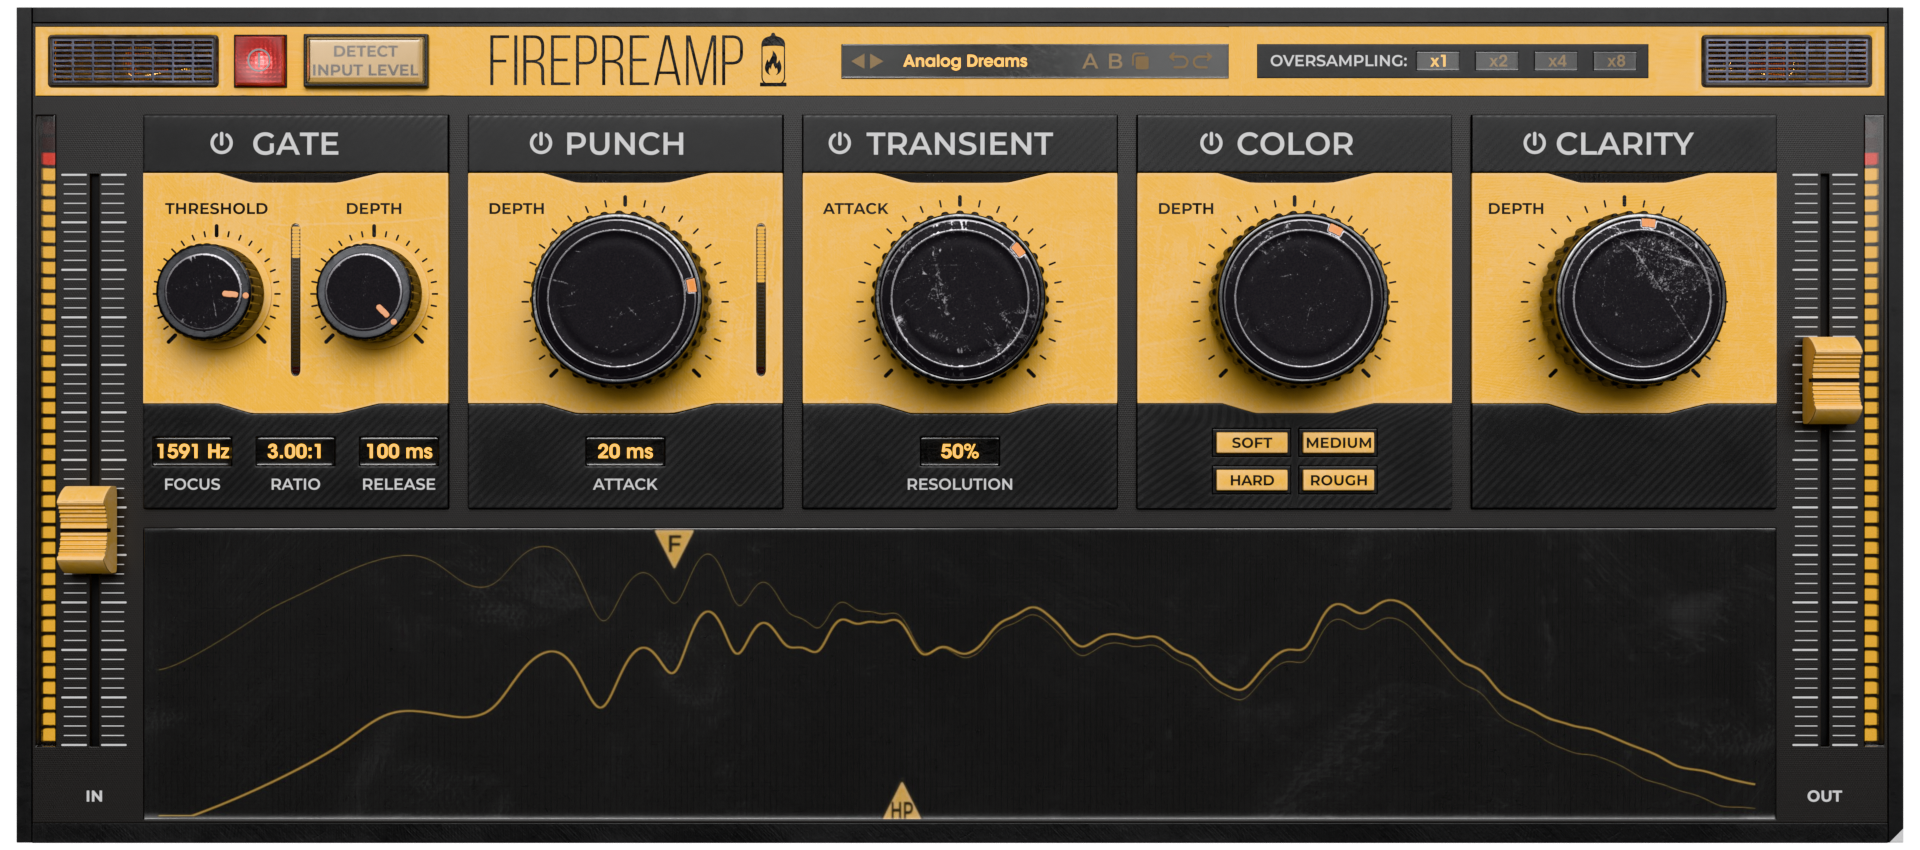
FirePreamp implements a quick and powerful way to preprocess your recorded signal. It lets you easily set the input level, remove unwanted rumble in low frequencies, gate it, and it also provides some additional analogue-like coloration, EQ, and dynamic processing.
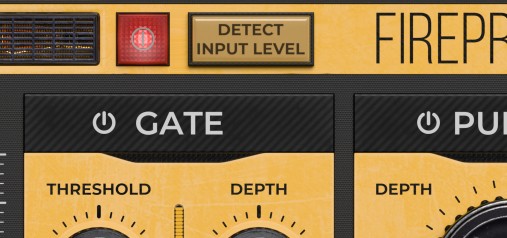
Detect input level is the button you should use first. Click it, then play a loud section, and click it again. During that time, the output level will be lowered for safety reasons. After this quick process, the input level will be automatically set to an optimal value.

Oversampling can prevent aliasing artefacts naturally associated with digital processing at the expense of additional CPU usage and latency. Use it ONLY if you hear a difference. It's not a magic cure to be enabled every time.
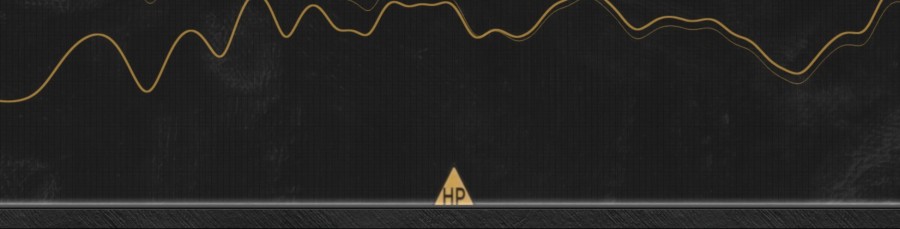
High-pass (HP) filter is only available from the spectrum analyzer in the bottom, and it lets you remove unwanted rumble from the signal. It is almost always a good idea to place it just below the lowest high peak in the signal. It will pay off later in the mix.
The input gain fader lets you control the input level after the automatic processing. You can use it if you feel the detected level is not optimal, but that is very rare unless your microphone or AD converter is producing random peaks/frequencies.
Gate
Gate provides a simple but powerful noise gate. Click the title to enable/disable it.
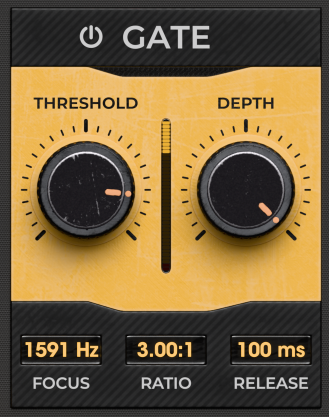
Threshold controls the level below which the gate closes. Increase it to remove more signal. A good approach is to play an empty noise section and increase the threshold until it disappears.
Depth controls the amount of gating. It is similar to Ratio control, but in practice, this seems to be easier to use as it is less aggressive and doesn't actually change the dynamics.
Focus makes the gate focus on a specific part of the spectrum. For instance, if you are processing a snare drum, it's quite likely that the mic also records a lot of hi-hat, so gating the whole thing may be quite problematic, as the gate would open on the hi-hat too. You can mitigate it using the Focus control and set it to the fundamental (loudest) frequency of the snare drum. The control is also available from the frequency analyzer at the bottom. Set it to minimum to disable the focus and let the gate follow the entire spectrum.
Ratio controls how quickly the level is attenuated below the threshold. It complements the Depth control, but it affects the dynamics and is quite more aggressive.
Release controls the speed of the gate, mainly how quickly it closes. It is especially useful with drums, where it lets you control the length of the sustain of each hit to pass through the gate.
Punch
Punch implements a smooth-sounding compression-like dynamics processing that just suits most signals and gives a bit of mojo usually associated with preamps. It can be more pronounced than in the analog preamps.

Depth controls the amount of dynamic processing.
Attack controls the speed of the punch processor. Set it using your ears.
Transient
Transient implements a transient shaper, which is especially useful on percussive instruments.
![]()
Attack controls the gain for the attack stages and is useful if there is too much / not enough power in the attack stage.
Resolution controls the speed of the transient processor, or in other words, the length of the attack stage.
Color
Color implements a soft saturation-based enhancer, which enhances the signal in a similar fashion to an analog preamp.
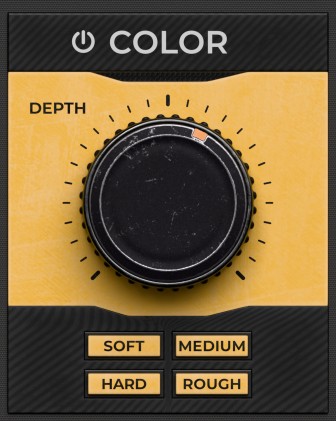
Depth controls the amount of coloration. Note that if you overdo it, it may start sounding like a distortion, which it essentially is. However, that may still be a good thing in the context of the full mix, as the harmonics may help it to cut through the mix.
Soft / Medium / Hard / Rough switch controls 4 different sounding modes. Choose one you like the most.
Clarity
Clarity implements a more modern non-analog algorithm, which enhances different parts of the spectrum to make things better-sounding and cut through the mix better.

Depth controls the amount of processing. Beware of overusing this, since it makes things sound better, but if you apply it too much and to everything in the mix, it will kind of defeat the purpose.
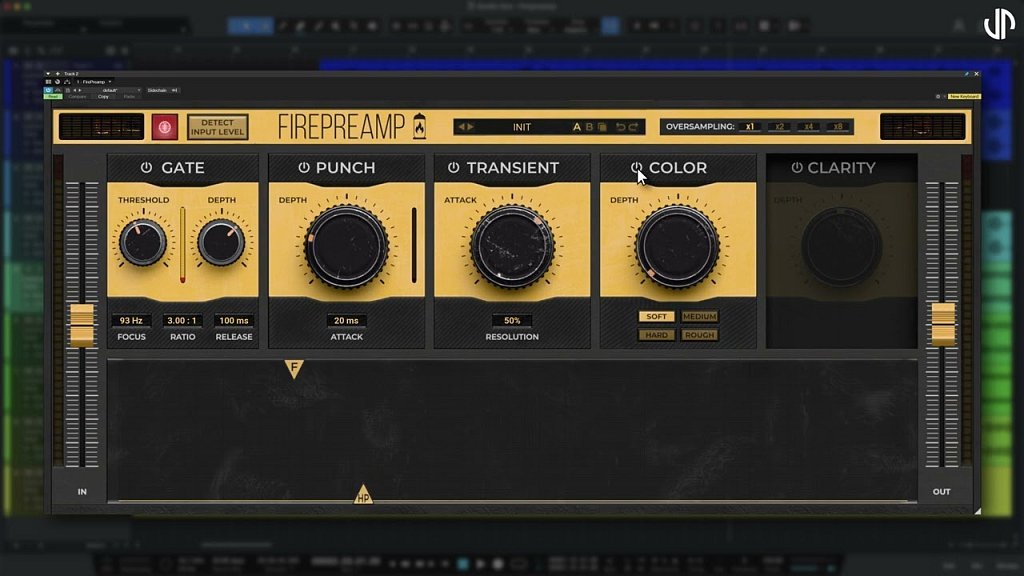
Toolbar
FirePreamp features several standard controls, which can improve your workflow.
A, B and Copy buttons - The plugin remembers two sets of settings, A and B. Clicking any of these two buttons switches between these two settings. The selected one is highlighted in red. This is a great way for A/B checking and selecting the best settings. The "Copy" button copies the current settings to the other slot (if A is currently selected, the button will copy the current settings to slot B).
Presets and right and left arrows - The plugin comes with a set of presets, which should do the trick for most cases. Access them using the right and left arrows or by clicking the preset field directly. There, you can save and manage your own presets as well.
Right-Click menu
Right-click anywhere in the plugin background with the right mouse button, and you will get access to the following features.
Scale GUI precisely by percentage.
Get the version info.
Access product web page, reach support and access online documentation.
Contact support
Open the presets folder (to add, arrange or delete presets manually)
Activate/Deactivate the plugin
Access Licence Manager (to activate or deactivate the plugin or several plugins at the same time)
Disable/Enable GPU Acceleration.
Disable/Enable Intelligent sleep on silence function that disables the plugin when no sound is on input or output to save the CPU power.
Right-click any control (knob, button) to access help for the particular parameter.
Double-click Menu
Some parameters let you access more accurate numeric settings by double-clicking the knobs.

Presets and left-right arrows
The plugin comes with a set of presets, which should do the trick for most cases or give you a good starting point when tweaking your sound. Access them using the right and left arrows, or by clicking the preset field directly. You can save and manage your own presets there as well. In your computer, presets are stored in the following paths:
Windows:
c:\Users\USER NAME\AppData\Roaming\UnitedPlugins\PRESETS\PLUGIN NAME
macOS X:
/Users/username/Library/Application Support/UnitedPlugins/PRESETS/PLUGIN NAME
Installation and maintenance
Use UnitedPluginsManager (Downloads section) to install, uninstall, update, and activate the plugin.
If you find yourself in trouble, please contact us via support@unitedplugins.com.
Common functions
(Available in most plugins)
Activate button - Opens a browser to locate the licence file to unlock the full version. (This can easily be handled by UnitedPlugins Manager right after installation)
Toolbar
FirePreamp features several standard controls, which can improve your workflow.
A, B and Copy buttons - The plugin remembers two sets of settings, A and B. Clicking any of these two buttons switches between these two settings. The selected one is highlighted in red. This is a great way for A/B checking and selecting the best settings. The "Copy" button copies the current settings to the other slot (if A is currently selected, the button will copy the current settings to slot B).
Presets and right and left arrows - The plugin comes with a set of presets, which should do the trick for most cases. Access them using the right and left arrows or by clicking the preset field directly. There, you can save and manage your own presets as well.
Undo/Redo - Will revert back one step to help avoid the accidental change of parameter values.
Background Right-Click Menu
Right-click anywhere in the plugin background with the right mouse button, and you will get access to the following features.
Scale the GUI precisely by percentage.
Get the version info.
Access the product web page, reach support and the online documentation.
Contact support
Open the presets folder (to add, arrange or delete presets manually)
Activate/Deactivate the plugin
Access Licence Manager (to activate or deactivate the plugin or several plugins at the same time)
Disable/Enable GPU Acceleration.
Disable/Enable Intelligent sleep on silence function that disables the plugin when no sound is on input or output to save the CPU power.
Parameter Right-Click Menu
Right-click any parameter to call up a menu that gives you access to:
The parameter description
Parameter reset
Double-click Menu
Some parameters let you access more accurate numeric settings by double-clicking the knobs.
Presets and left-right arrows
The plugin comes with a set of presets, which should do the trick for most cases or give you a good starting point when tweaking your sound. Access them using the right and left arrows, or by clicking the preset field directly. You can save and manage your own presets there as well. In your computer, presets are stored in the following paths:
Windows:
c:\Users\USER NAME\AppData\Roaming\UnitedPlugins\PRESETS\FirePreamp
macOS X:
/Users/username/Library/Application Support/UnitedPlugins/PRESETS/FirePreamp
(Right-Click the plugin background to open the preset folder directly)
Installation and maintenance
Use UnitedPluginsManager (Downloads section) to install, uninstall, update, and activate the plugin.
Support
If you find yourself in trouble, please contact us via support@unitedplugins.com.