
Autoformer Manual
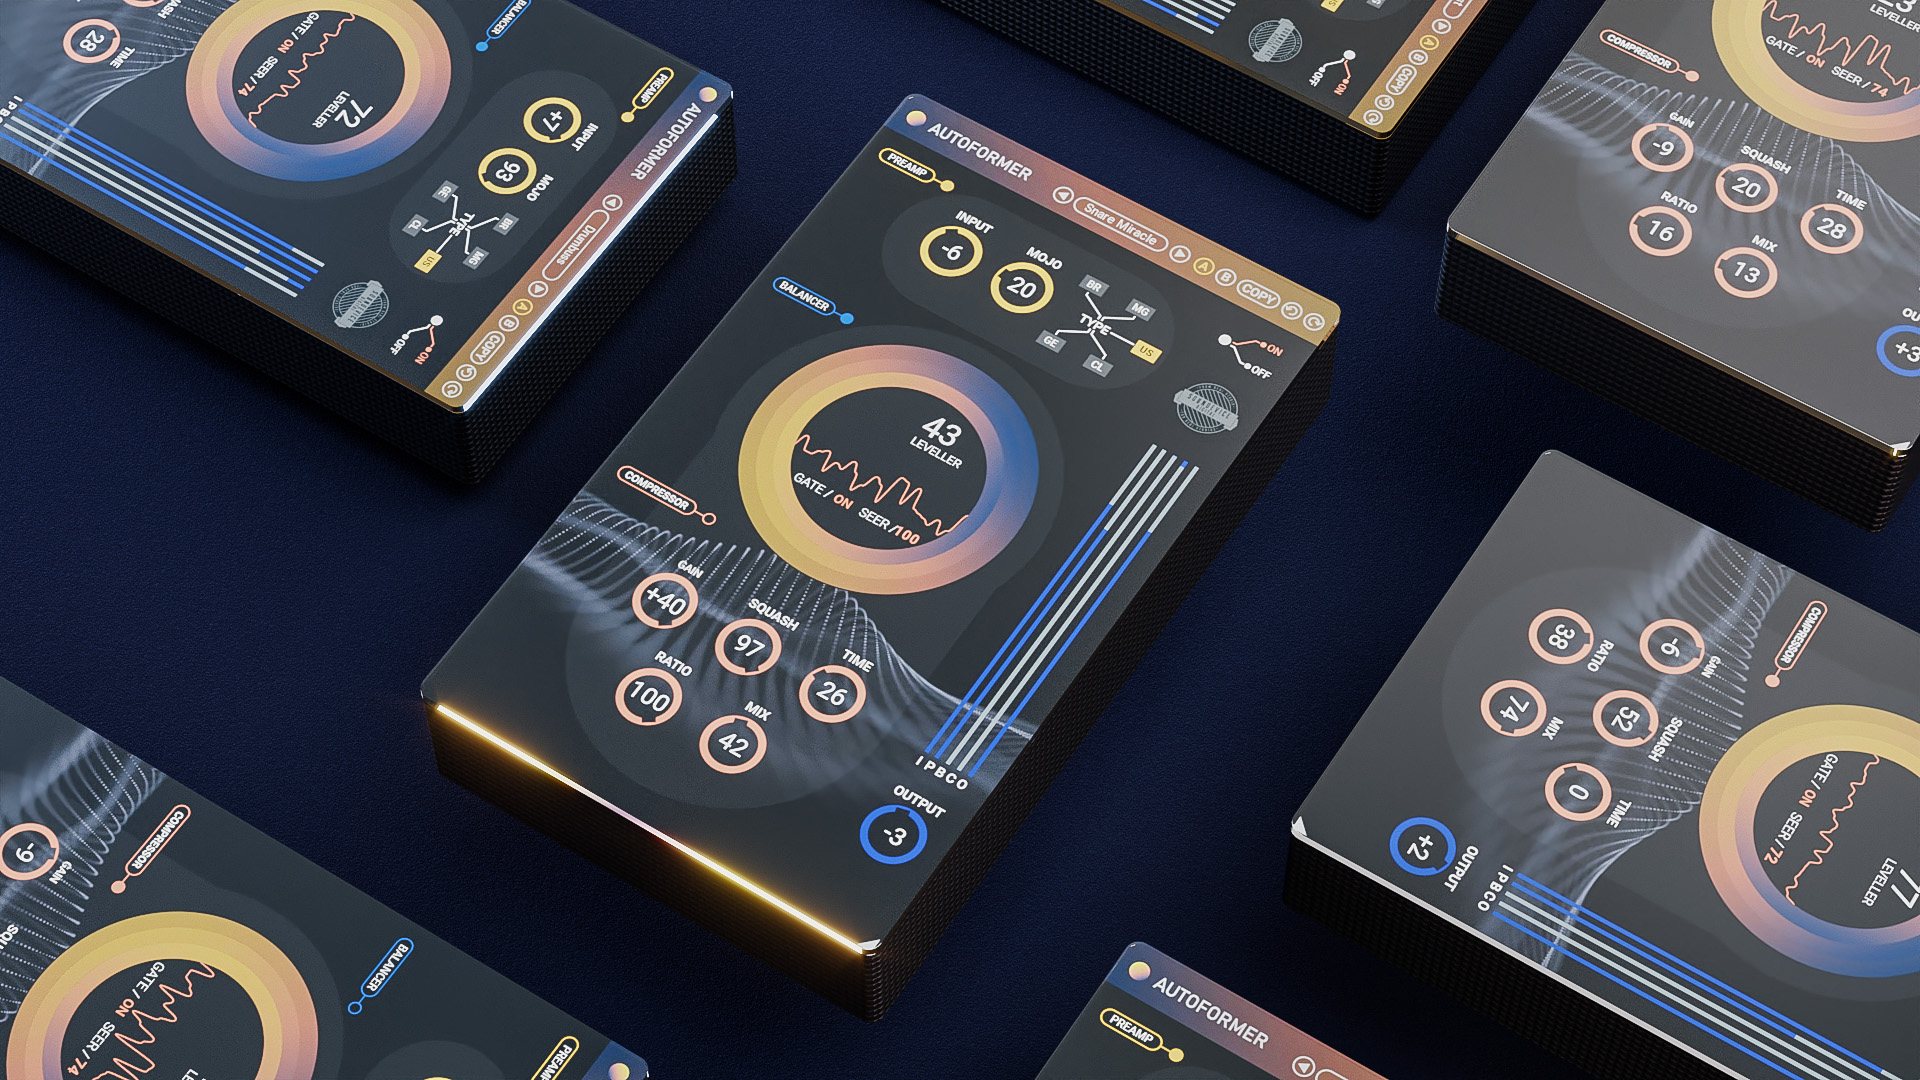
Autoformer Controls
Autoformer‘s simple user interface easily adapts to your screen – it will be the same size on any screen, whether it is low-DPI or modern high-DPI/retina. Drag the bottom right corner to change the GUI size. Make it smaller to save valuable screen space, or enlarge it to make it easier to use. Each section is equipped with an independent bypass switch, which turns the particular section off.
Preamp Section
INPUT - control is basically Gain in. Controls how much signal is going into the Autoformer plugin. The range is from -24 to +24dB
BR/MG/US/CL/GE Buttons: Change the behaviour of the analogue circuit and change colour (British, American and German styles).
MOJO: Controls how much colour is in the signal - the level of saturation.

Ballancer Section
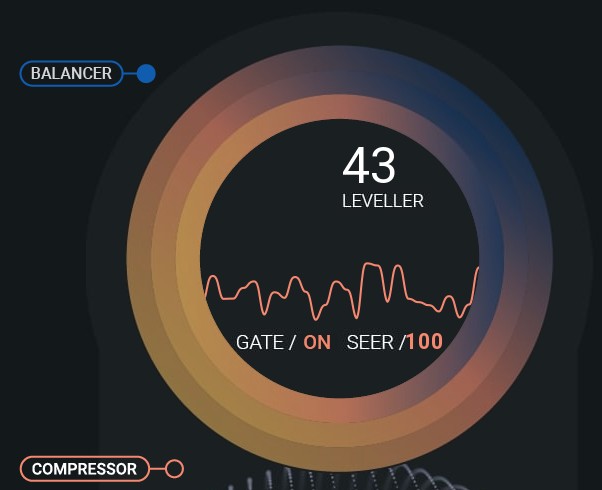
LEVELLER - Determines the power/level of the intelligent volume riding.
SEER - Detects the ahead signal to decide if the Leveller should be put into action. The bigger the amount is, the more precise the volume attenuation can be, but the latency is increased at the same time. DO NOT TWEAK THIS PARAMETER DURING PLAYBACK.
GT - Controls the switching on/off of the gate in the Balancer algorithm
Compressor Section
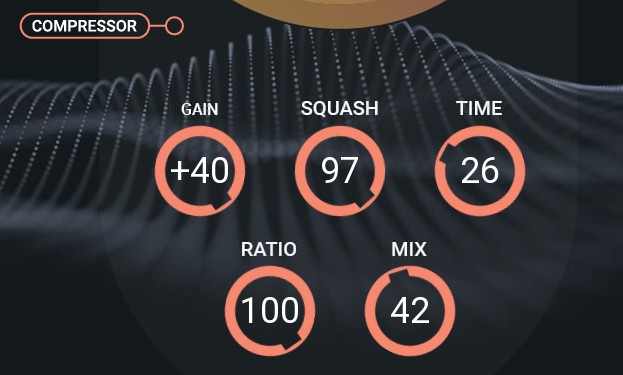
GAIN - Controls the gain amount in the Compressor section (after Ballancer and Preamp)
SQUASH - Sets the complex level of the processed compression.
TIME - Determines the time constant of the compression.
RATIO - Sets the compression ratio. If set to the max value, the ratio changes to 1:infinity and the compressor starts to act as a limiter.
MIX - Mixes Wet (compressed) and Dry (uncompressed) signals
Output Section
OUT - This knob controls the output volume of the whole plugin. Set between -24 and +24 dB.
Meters
C - Compressor section Gain Reduction.
O - Indicates the overall output level.
Common functions
(Available in most plugins)
Activate button - Opens a browser to locate the licence file to unlock the full version. (This can easily be handled by UnitedPlugins Manager right after installation)
Toolbar
Autoformer features several standard controls, which can improve your workflow.
A, B and Copy buttons - The plugin remembers two sets of settings, A and B. Clicking any of these two buttons switches between these two settings. The selected one is highlighted in red. This is a great way for A/B checking and selecting the best settings. The "Copy" button copies the current settings to the other slot (if A is currently selected, the button will copy the current settings to slot B).
Presets and right and left arrows - The plugin comes with a set of presets, which should do the trick for most cases. Access them using the right and left arrows or by clicking the preset field directly. There, you can save and manage your own presets as well.
Undo/Redo - Will revert back one step to help avoid the accidental change of parameter values.
Background Right-Click Menu
Right-click anywhere in the plugin background with the right mouse button, and you will get access to the following features.
Scale the GUI precisely by percentage.
Get the version info.
Access the product web page, reach support and the online documentation.
Contact support
Open the presets folder (to add, arrange or delete presets manually)
Activate/Deactivate the plugin
Access Licence Manager (to activate or deactivate the plugin or several plugins at the same time)
Disable/Enable GPU Acceleration.
Disable/Enable Intelligent sleep on silence function that disables the plugin when no sound is on input or output to save the CPU power.
Parameter Right-Click Menu
Right-click any parameter to call up a menu that gives you access to:
The parameter description
Parameter reset
Double-click Menu
Some parameters let you access more accurate numeric settings by double-clicking the knobs.
Presets and left-right arrows
The plugin comes with a set of presets, which should do the trick for most cases or give you a good starting point when tweaking your sound. Access them using the right and left arrows, or by clicking the preset field directly. You can save and manage your own presets there as well. In your computer, presets are stored in the following paths:
Windows:
c:\Users\USER NAME\AppData\Roaming\UnitedPlugins\PRESETS\Autoformer
macOS X:
/Users/username/Library/Application Support/UnitedPlugins/PRESETS/Autoformer
(Right-Click the plugin background to open the preset folder directly)
Installation and maintenance
Use UnitedPluginsManager (Downloads section) to install, uninstall, update, and activate the plugin.
Support
If you find yourself in trouble, please contact us via support@unitedplugins.com.
